Google Tag Manager
Implementing the Clicwise Pixel Using Google Tag Manager
What is the Tag Manager?
The Tag Manager is a tool that allows marketers to add and update tags and code snippets such as conversion tracking, site analytics, and remarketing code quickly and easily,
without editing the website’s code.
What is a tag?
A tag is a piece of code that is often provided by marketing, for analytics platforms to send information to them (e.g., Clickwise Pixel, Facebook Pixel, Google Analytics Tracking Code,
Remarketing Tags, etc.).
What is the Clickwise Pixel template?
The Google Tag Manager Clickwise Pixel template allows marketers to easily implement the base pixel and conversions without the need to know how to code. You can
access the Clickwise template from within Google Tag Manager's Template Gallery, or from your Tag Manager homepage. Follow these steps:
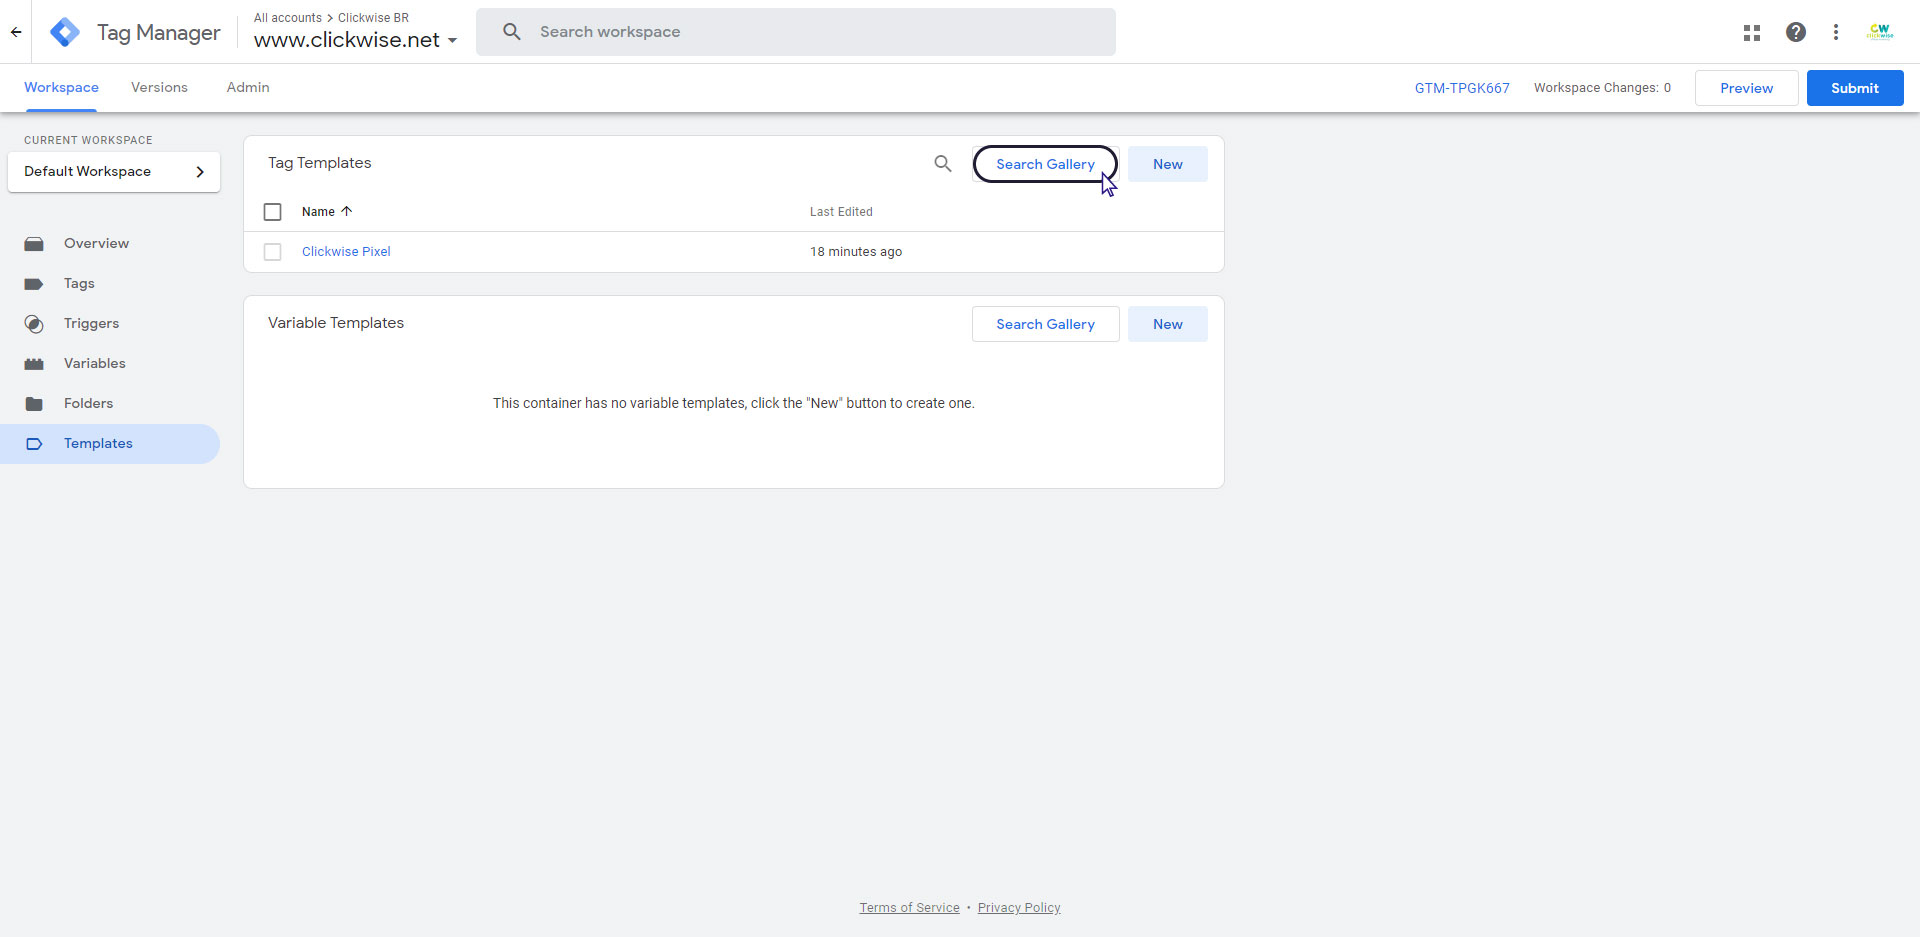
- Go to Google Tag Manager and navigate to the Templates section on the left hand side of the page.
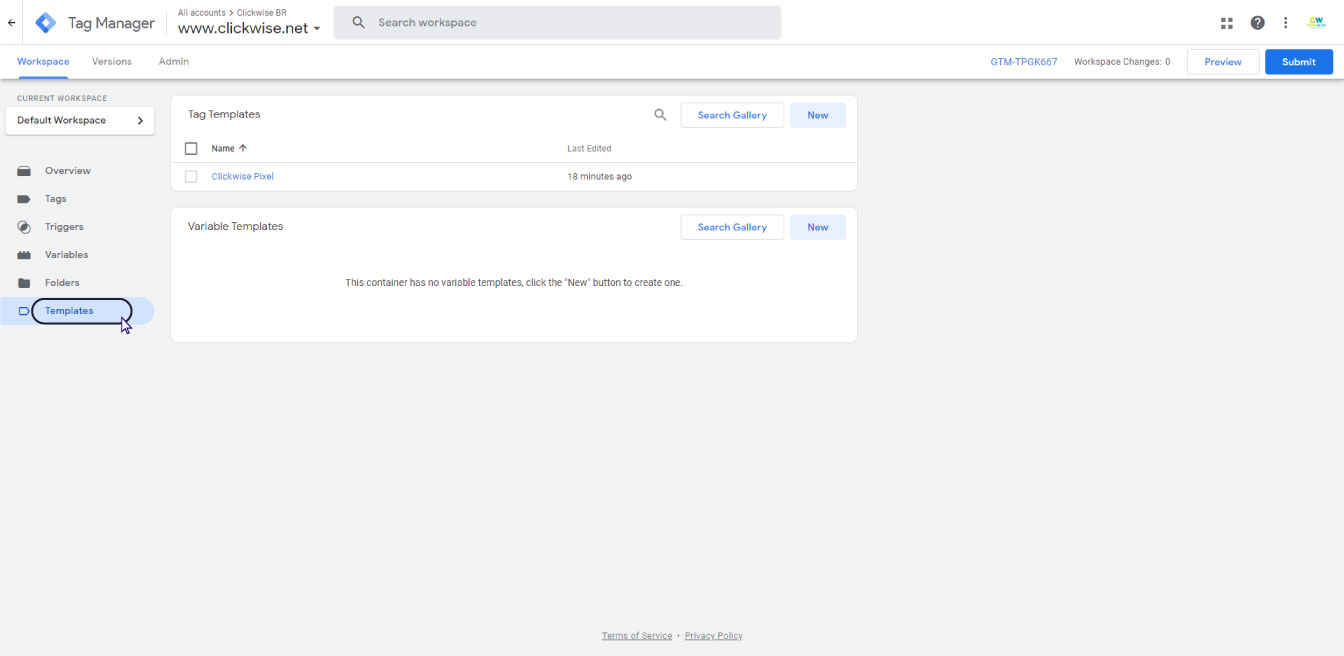
- Under Tag Templates, click on "Search Gallery", and search for Clickwise Pixel.
- Click on the Clickwise Pixel option, and add the Clickwise Pixel template to the relevant workspace.
- Submit the Clickwise Pixel to your workspace.
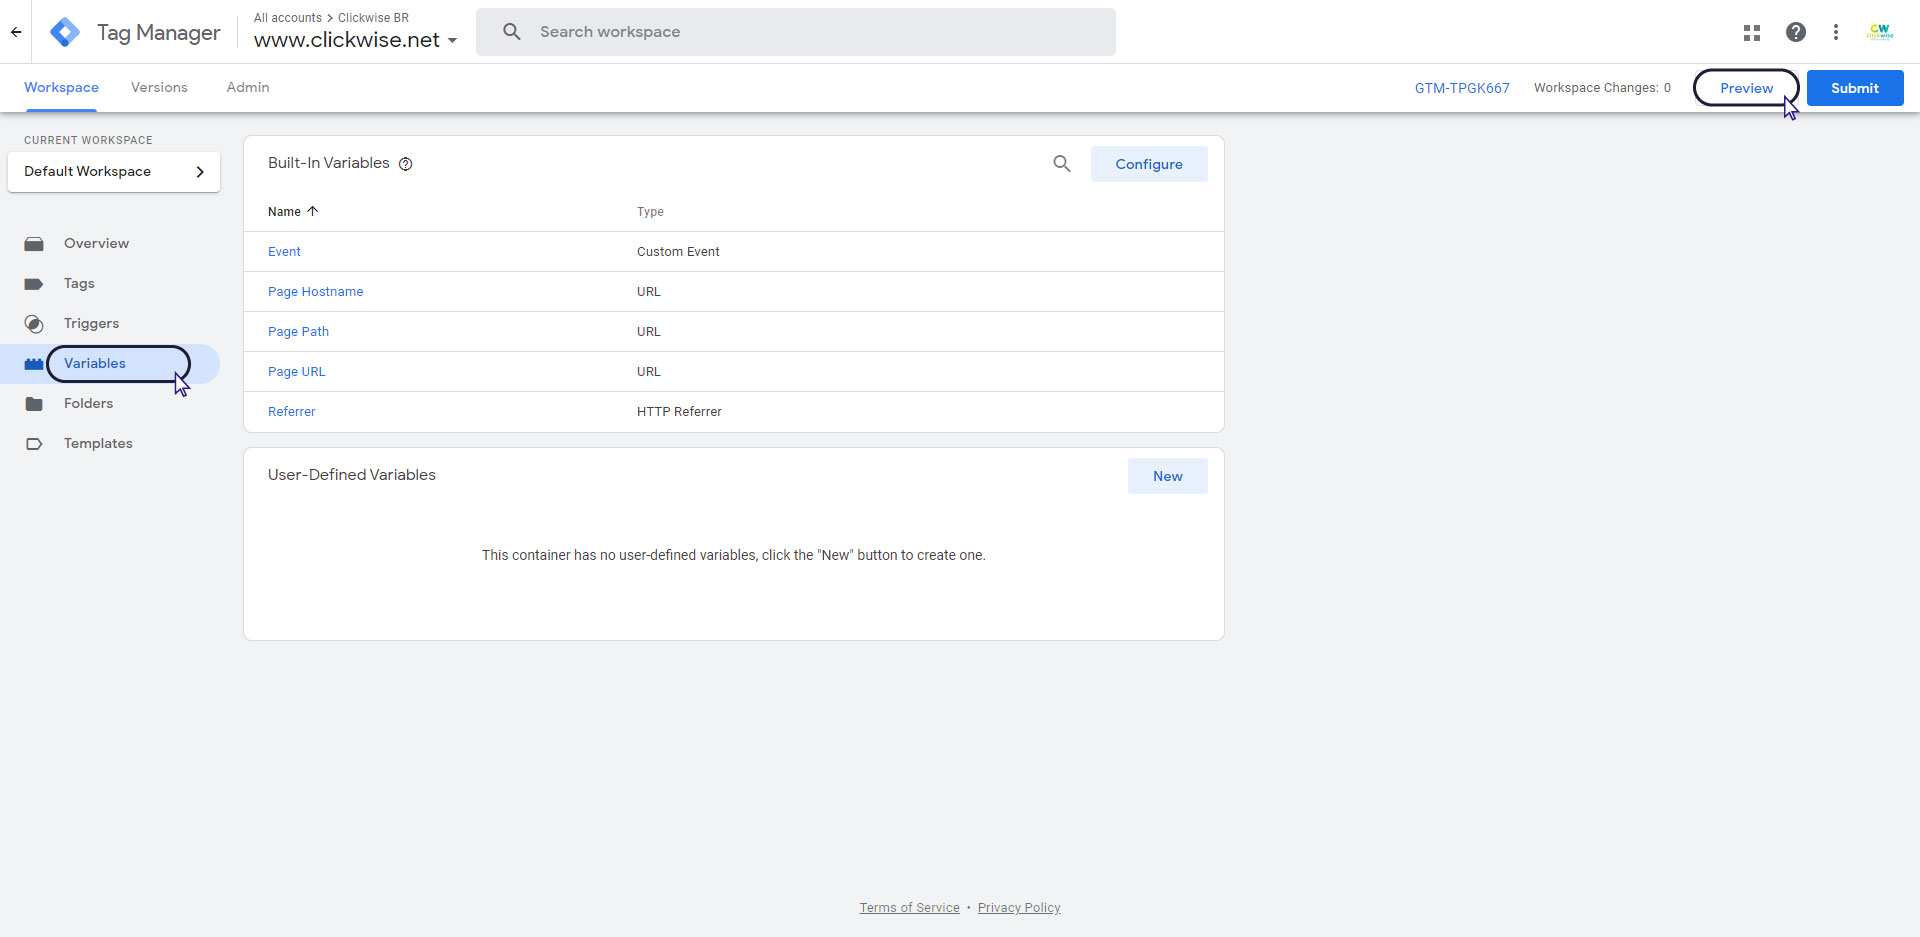
Before proceeding to this step by step, navigate to the Variables section and make sure that the variables do not already exist: Order Number (transactionID); Total purchase amount (transactionTotal) and Shipping amount (transactionShipping).
If so, skip this step and go to step Add the Clickwise Tag to your WEB page.
If it does not exist or you cannot identify it, proceed
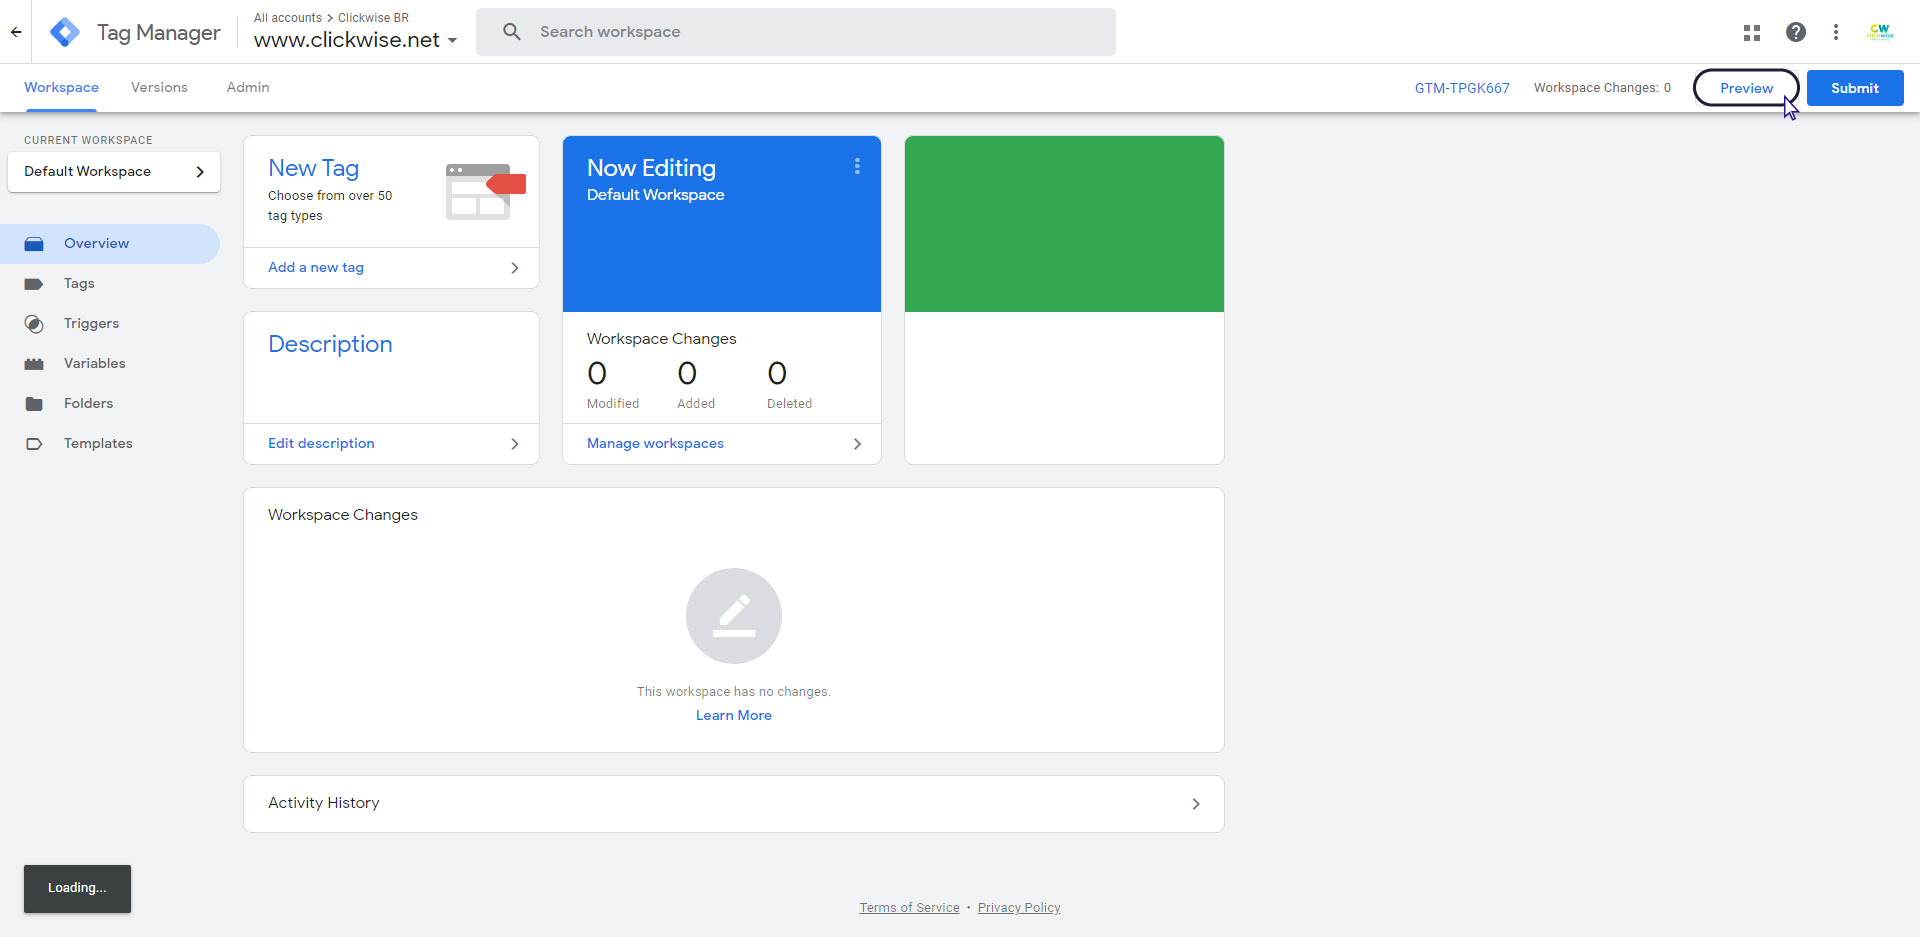
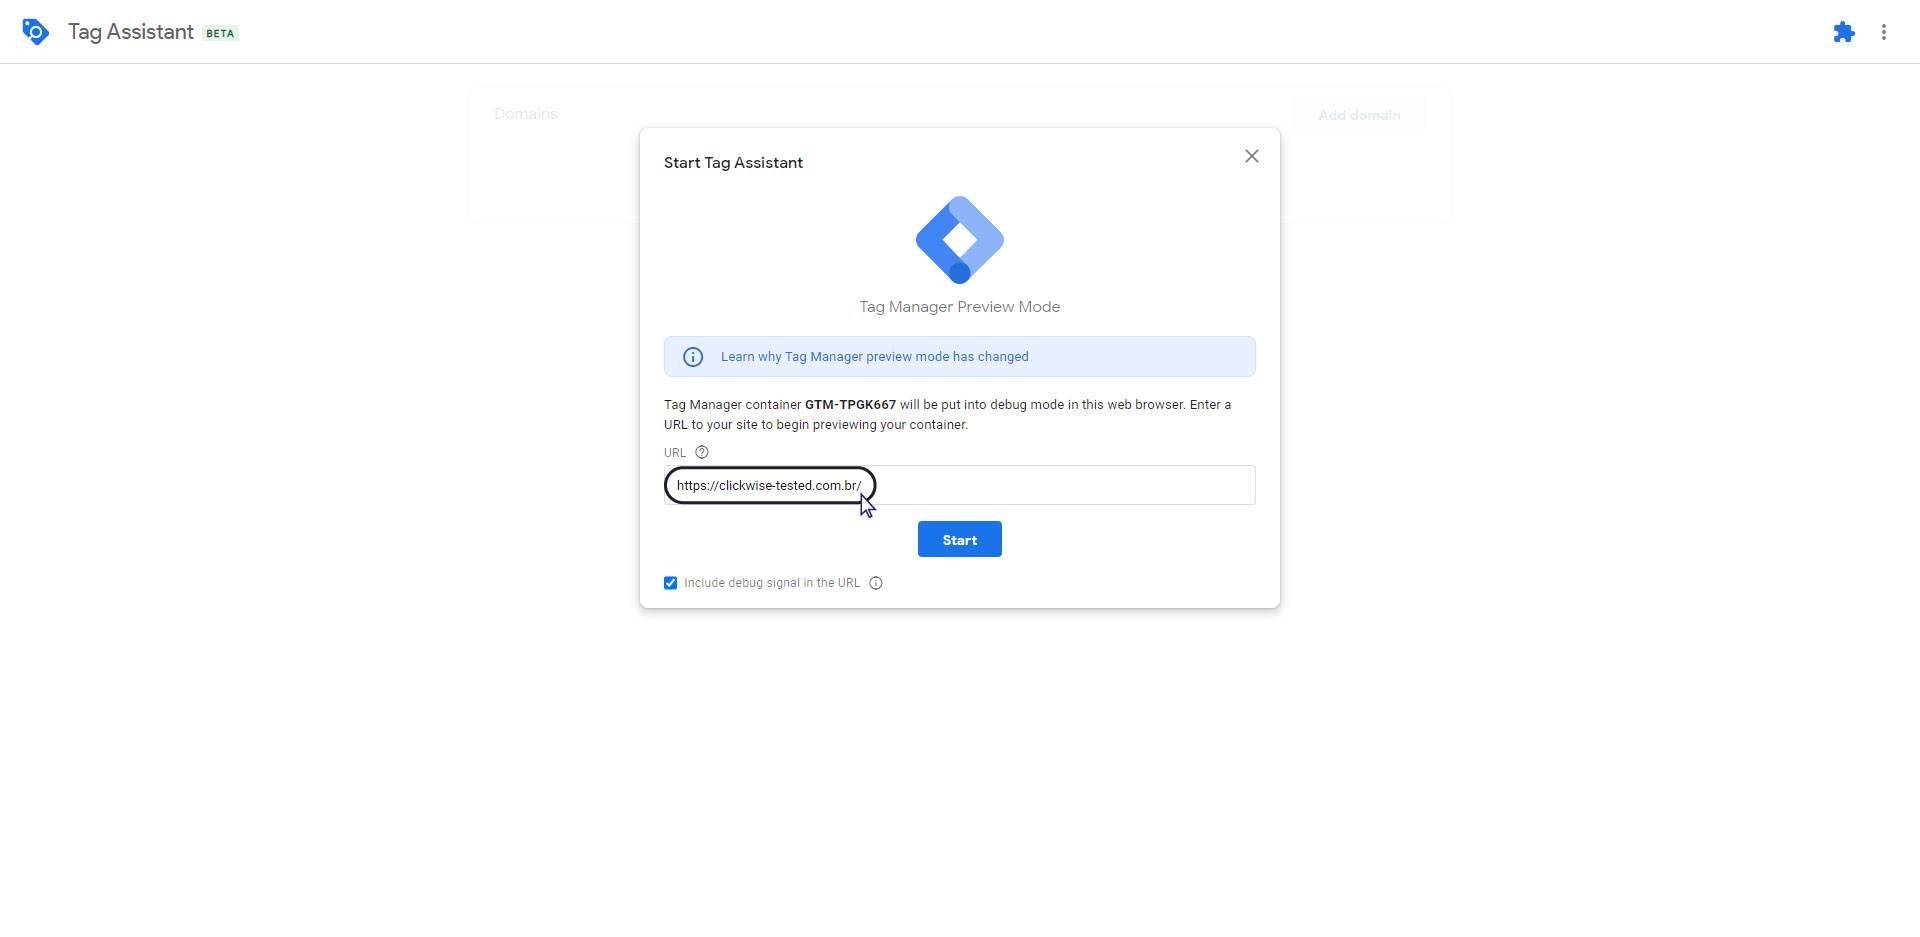
- Go to Google Tag Manager and click the button Preview at the top right of the page.
- Enter the URL of your Store and then click Start.
- Make a purchase test(purchase confirmation).

- Switch the browser tab to Tag Assistant and click Window Loaded(of the completed order page).
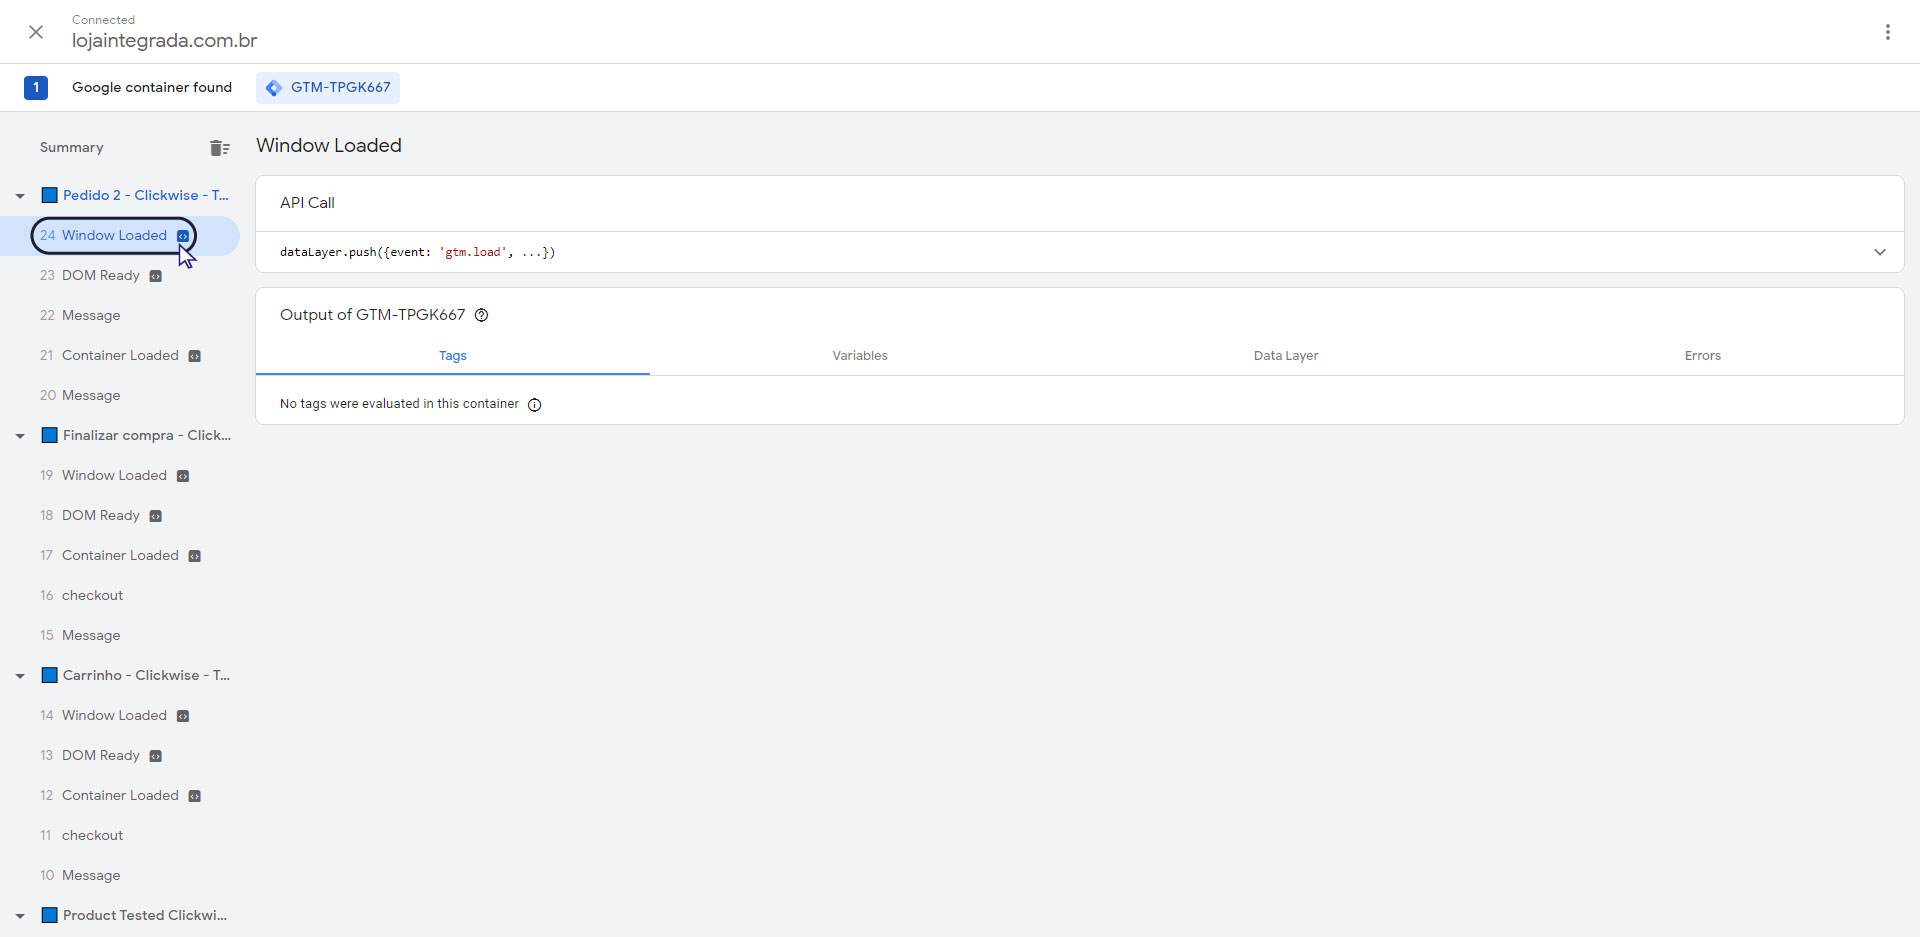
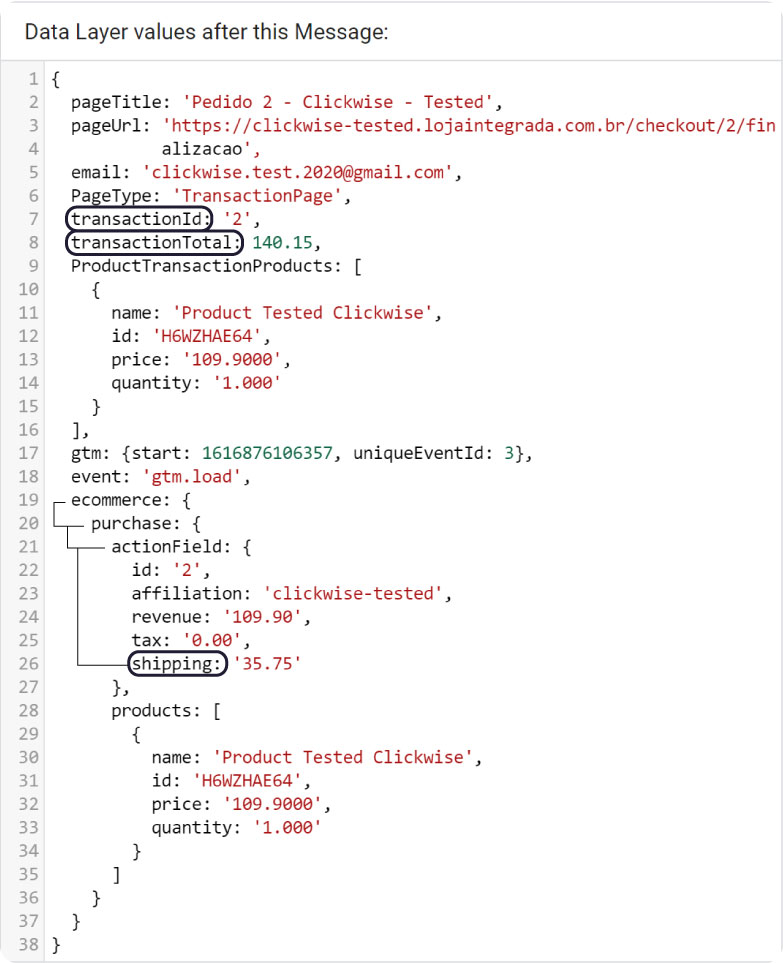
- Click inDataLayer to get the information collected from the page.
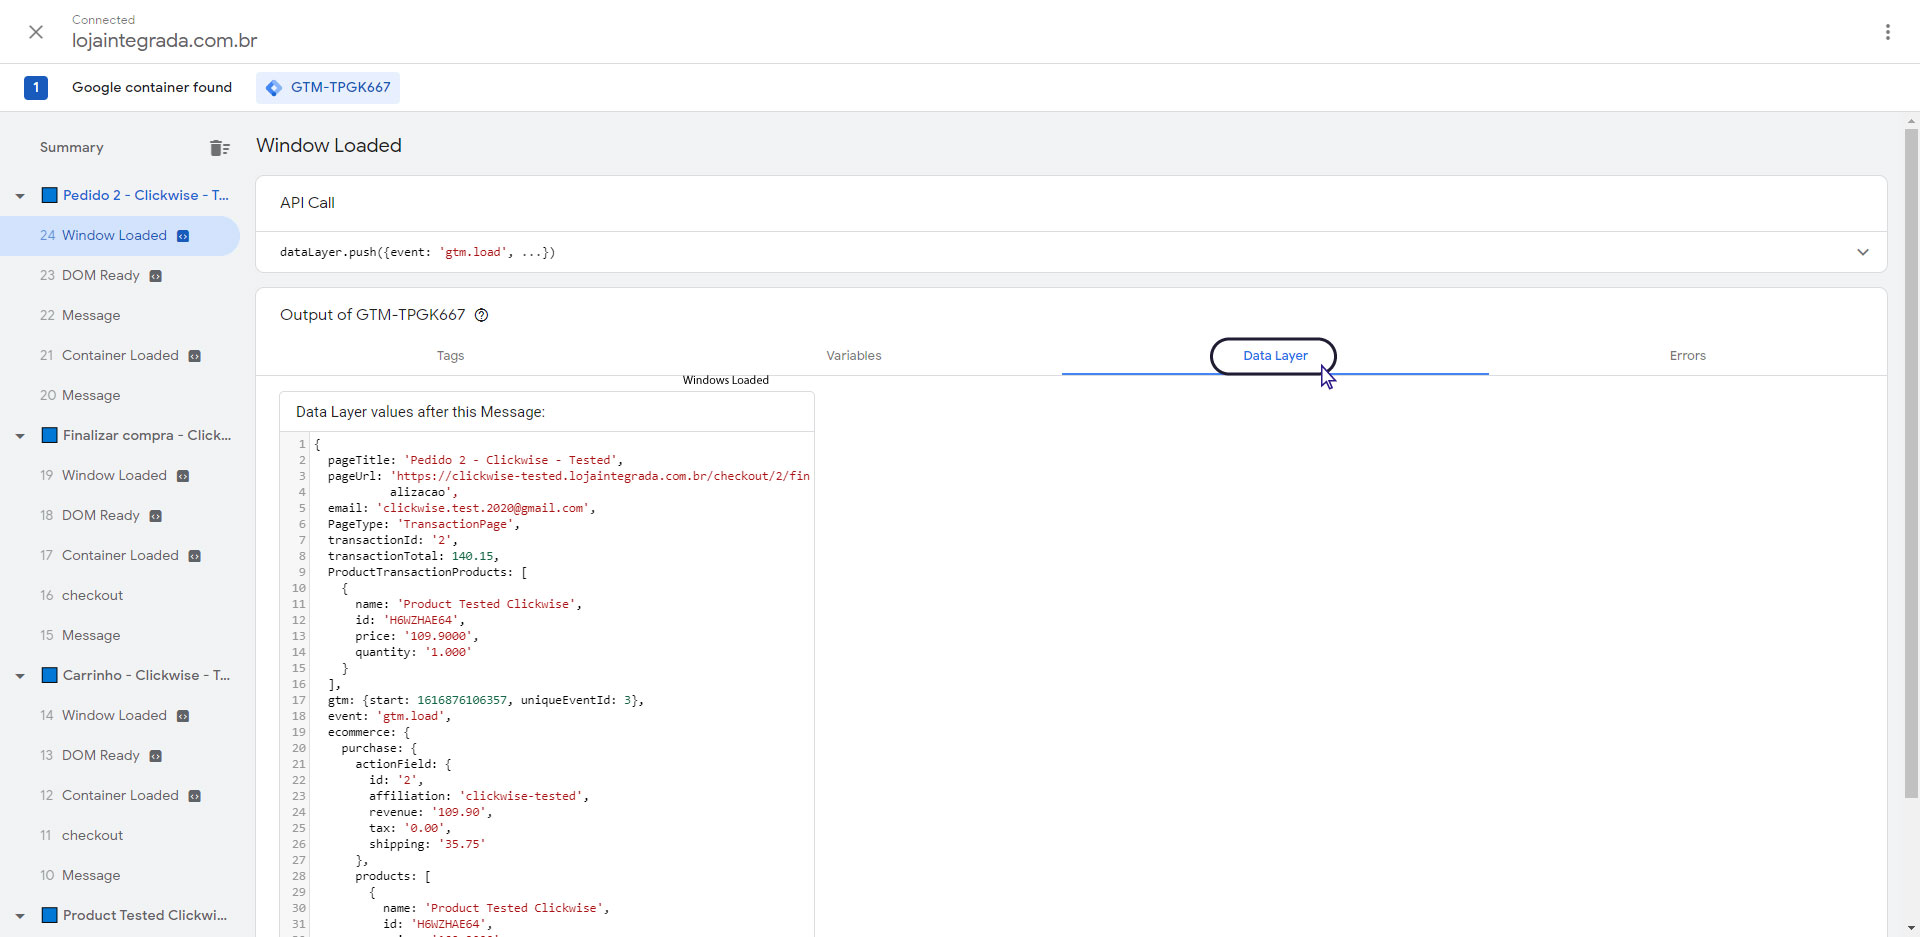
- Identify and copy the names of the variables of: Total Order Amount; Order ID and Shipping Amount. (The image below illustrates just one example)
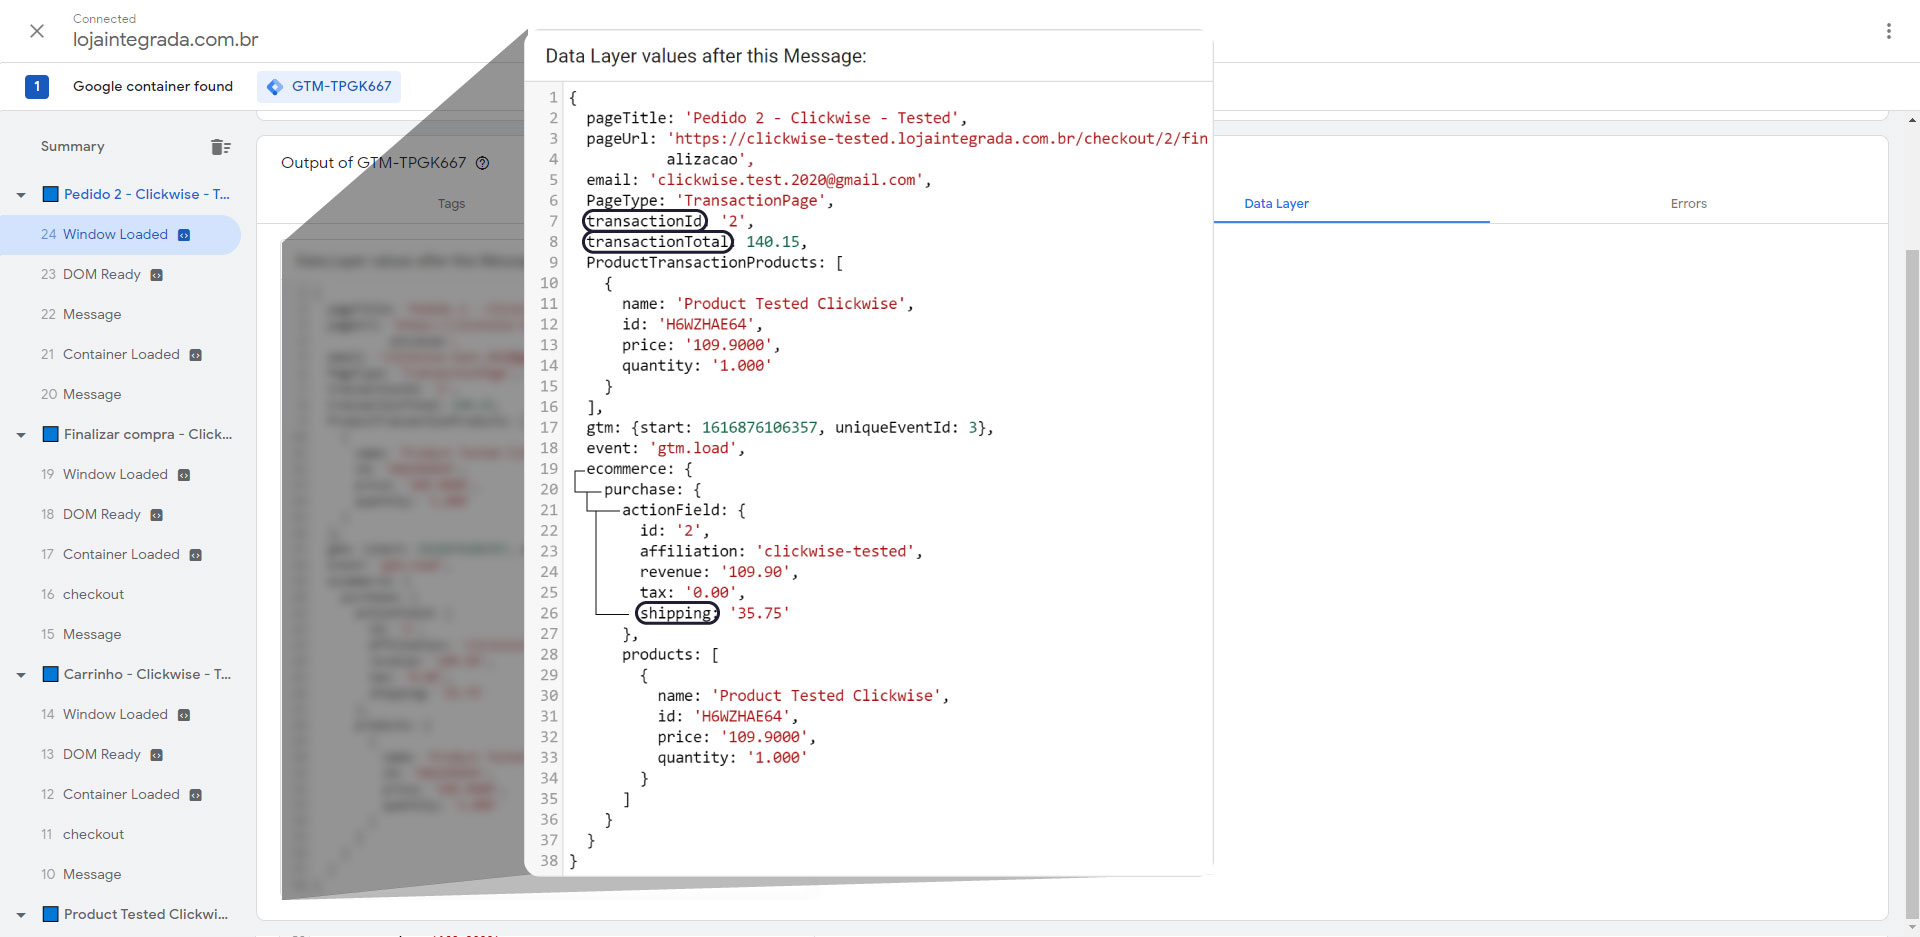
Variable Description transactionId Order ID transactionTotal Total Order Amount ecommerce.purchase.actionField.shipping Shipping Value - In the Google Tag Manager navigate to the section Variables on the left side of the page.
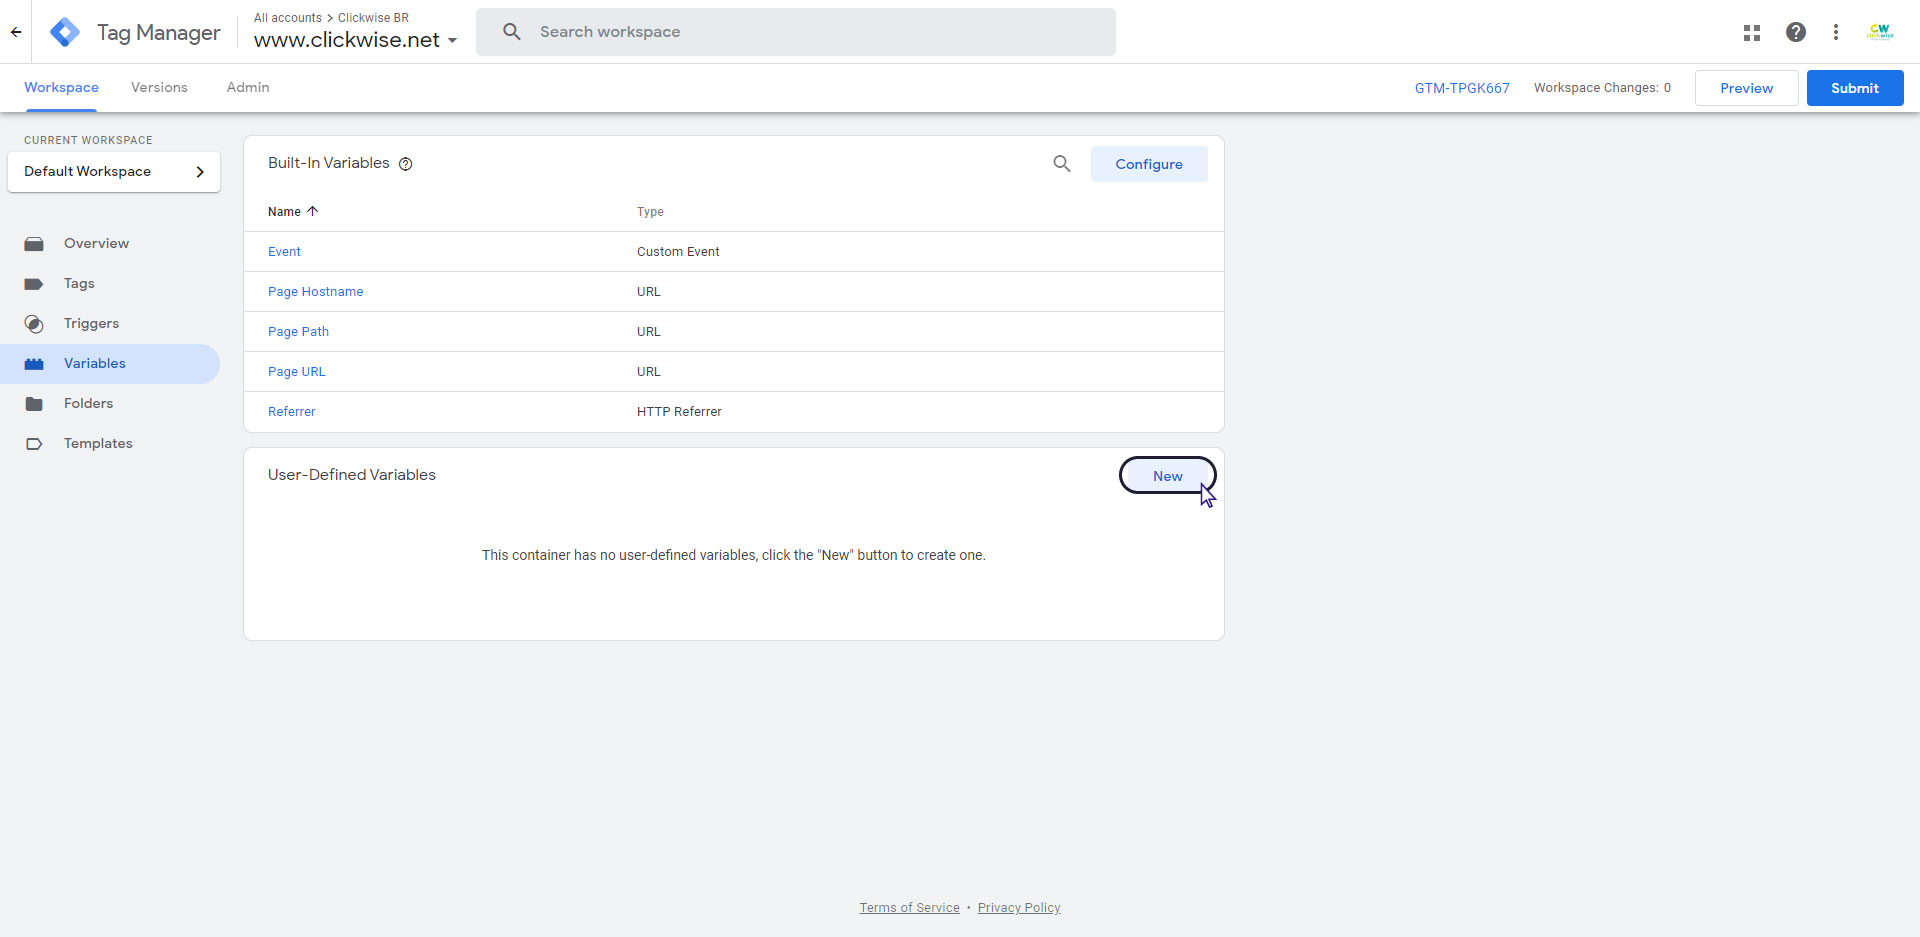
- Click the new button to create a new variable.
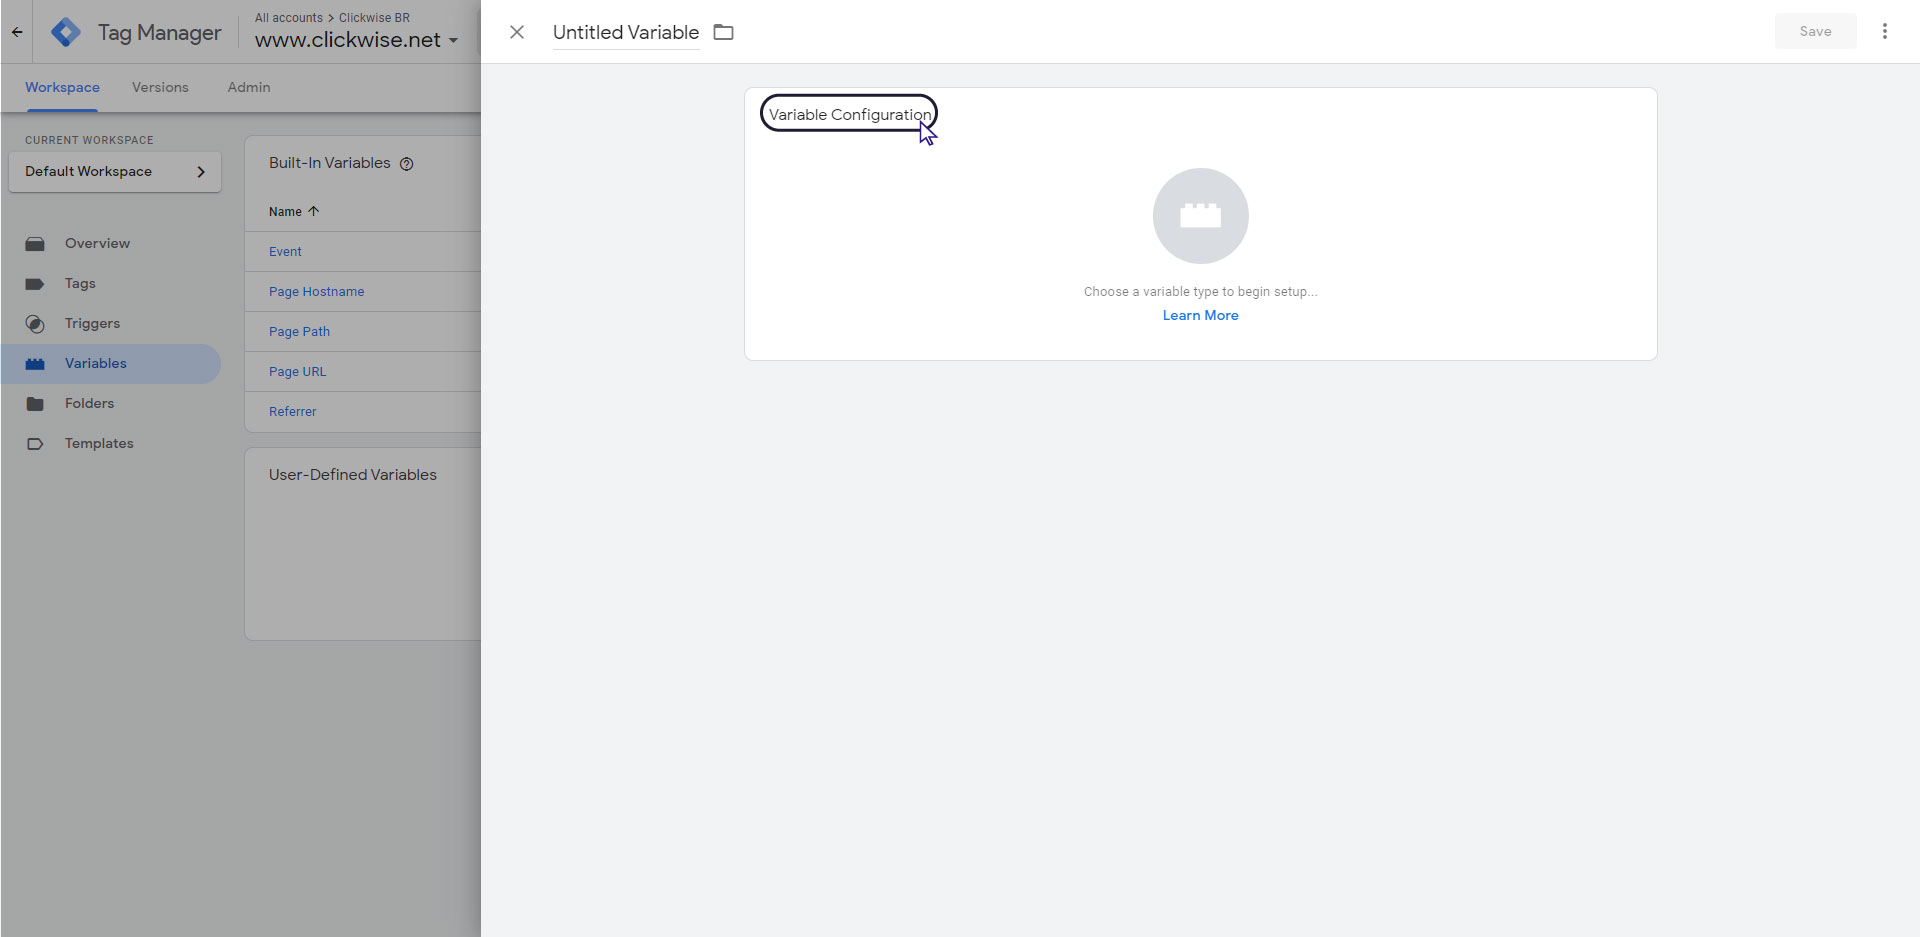
- Click the Variable configuration box to configure the variable.
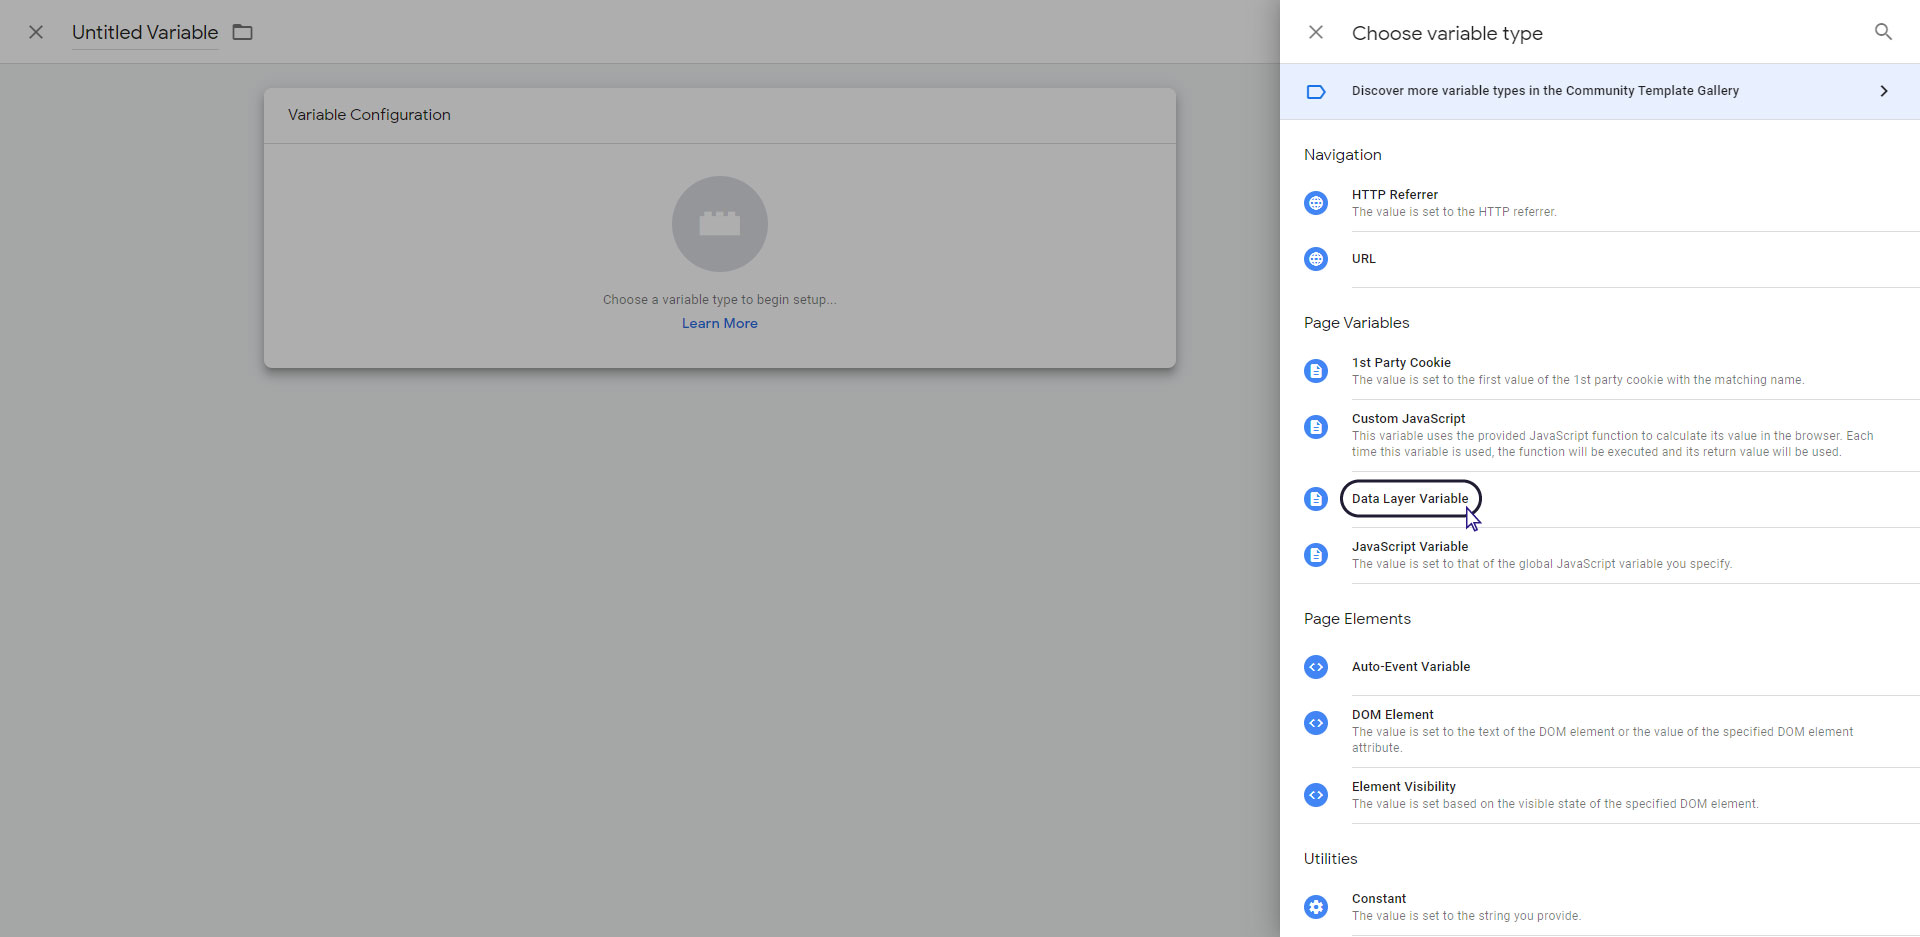
- Choose Data Layer Variable in the Page Variables section.
- Name the pixel, for example: 'OrderID'; 'Amount'; 'Shipping'
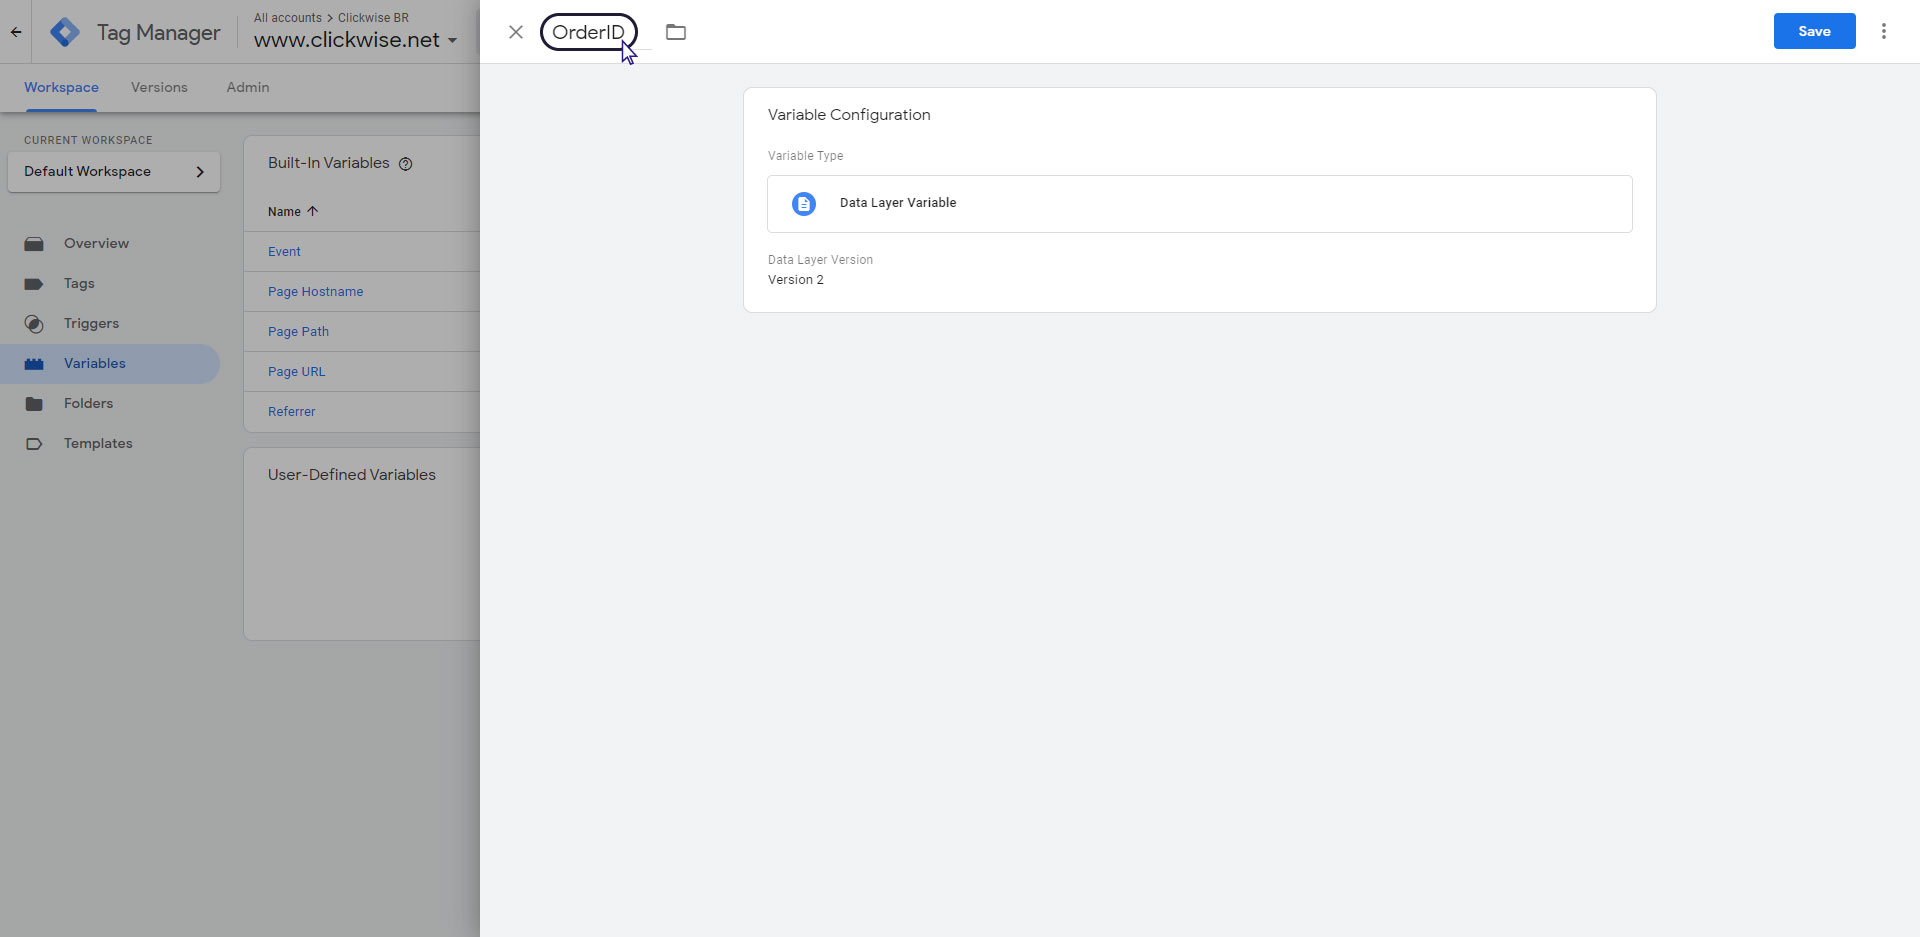
- Click on the box: Variable configuration and then paste the information we collected in step 6

- Click the Save button
- Repeat the process from step 8 - 13 to create the Order Amount e Shipping Amountvariables.
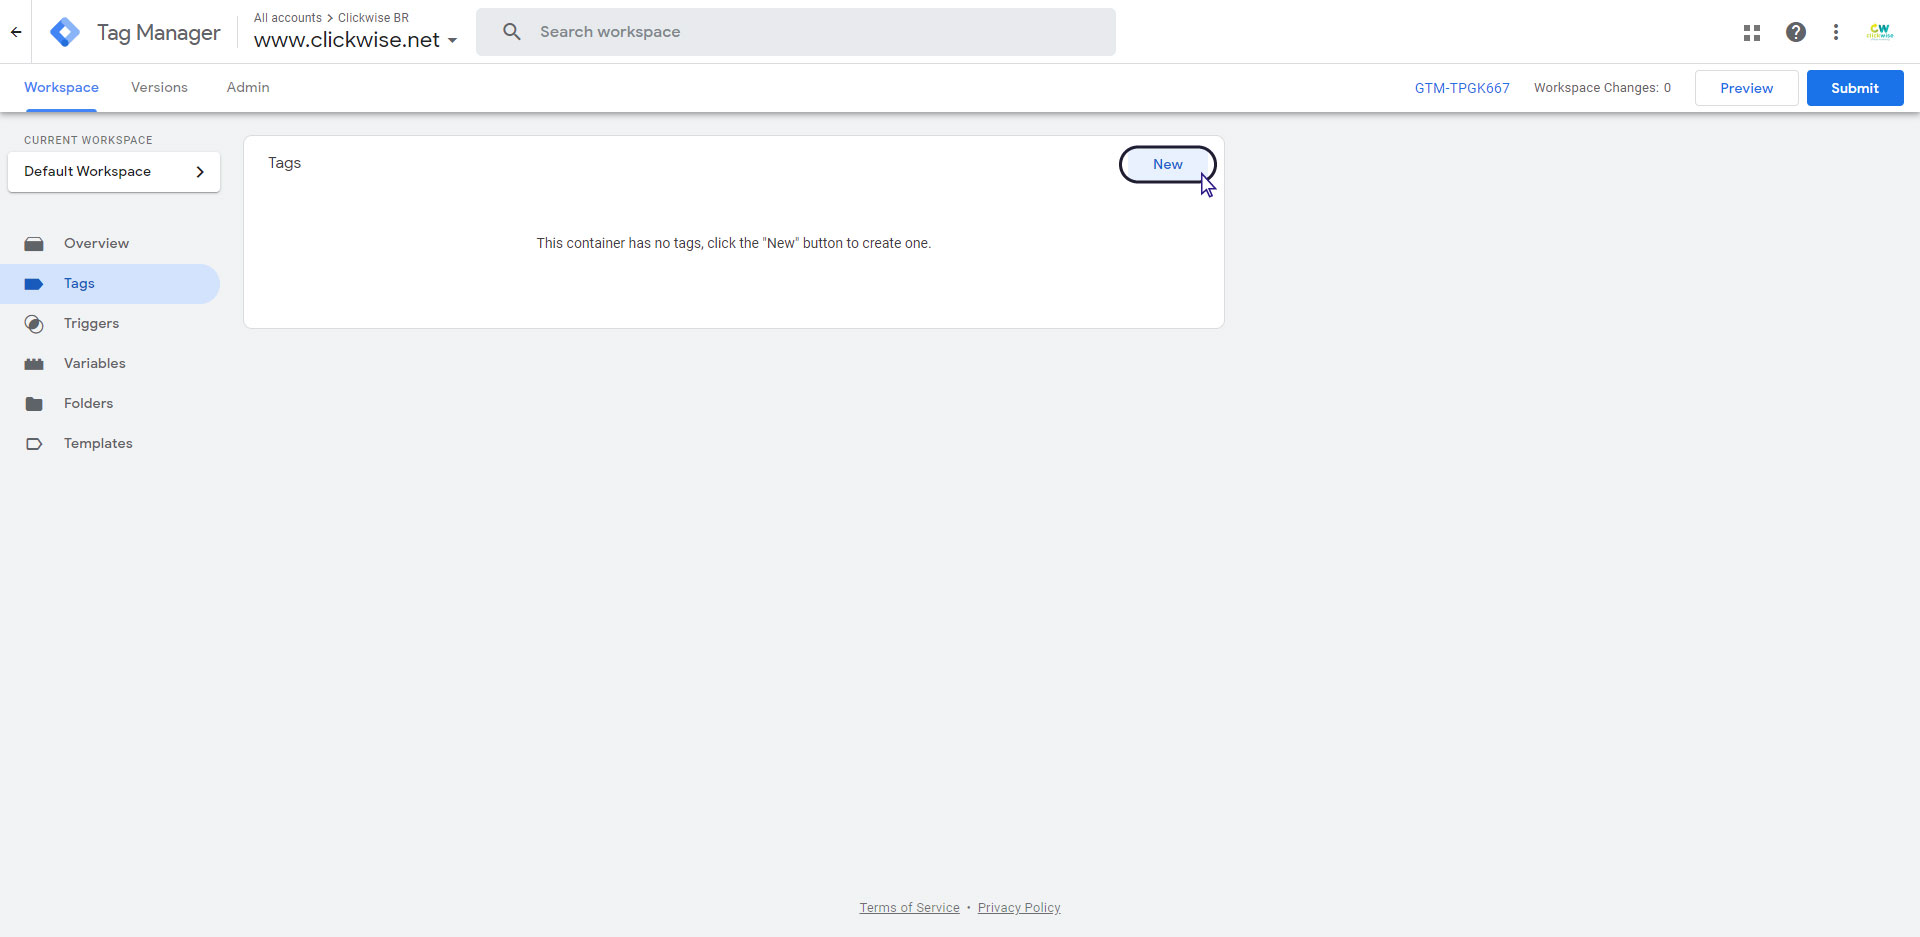
- Navigate to the Tags section on the left hand side of the page.

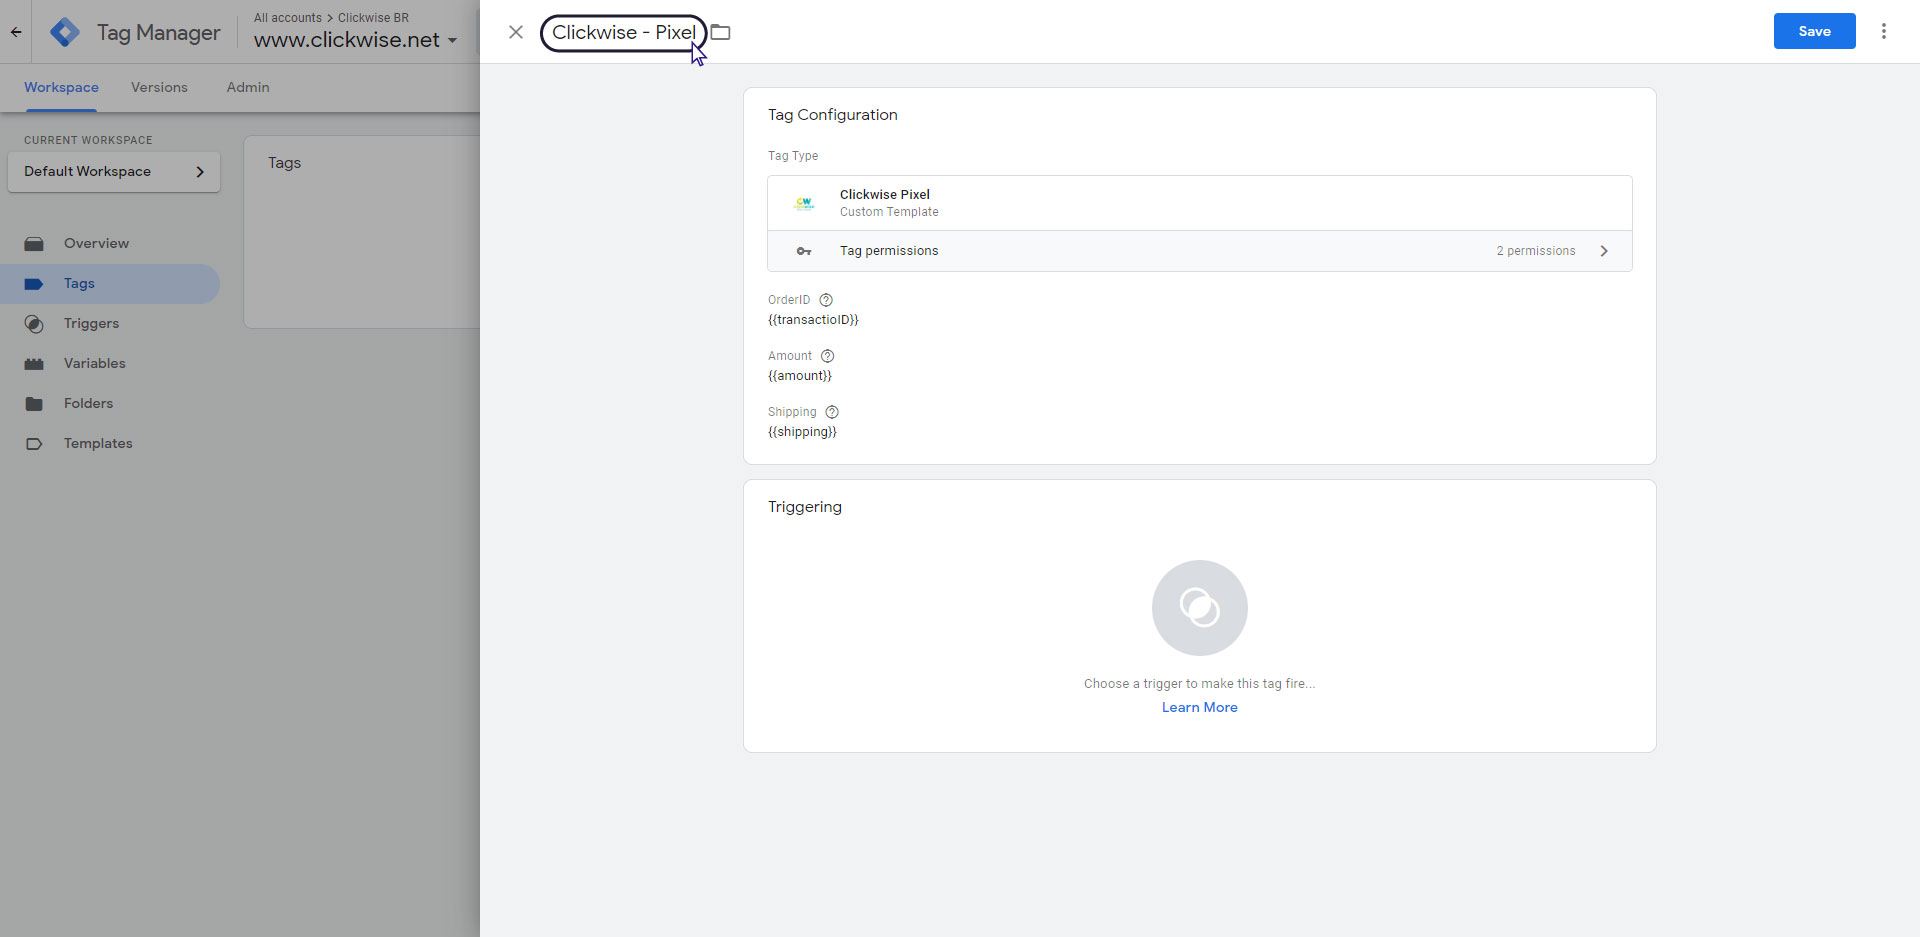
- Click Add a New Tag
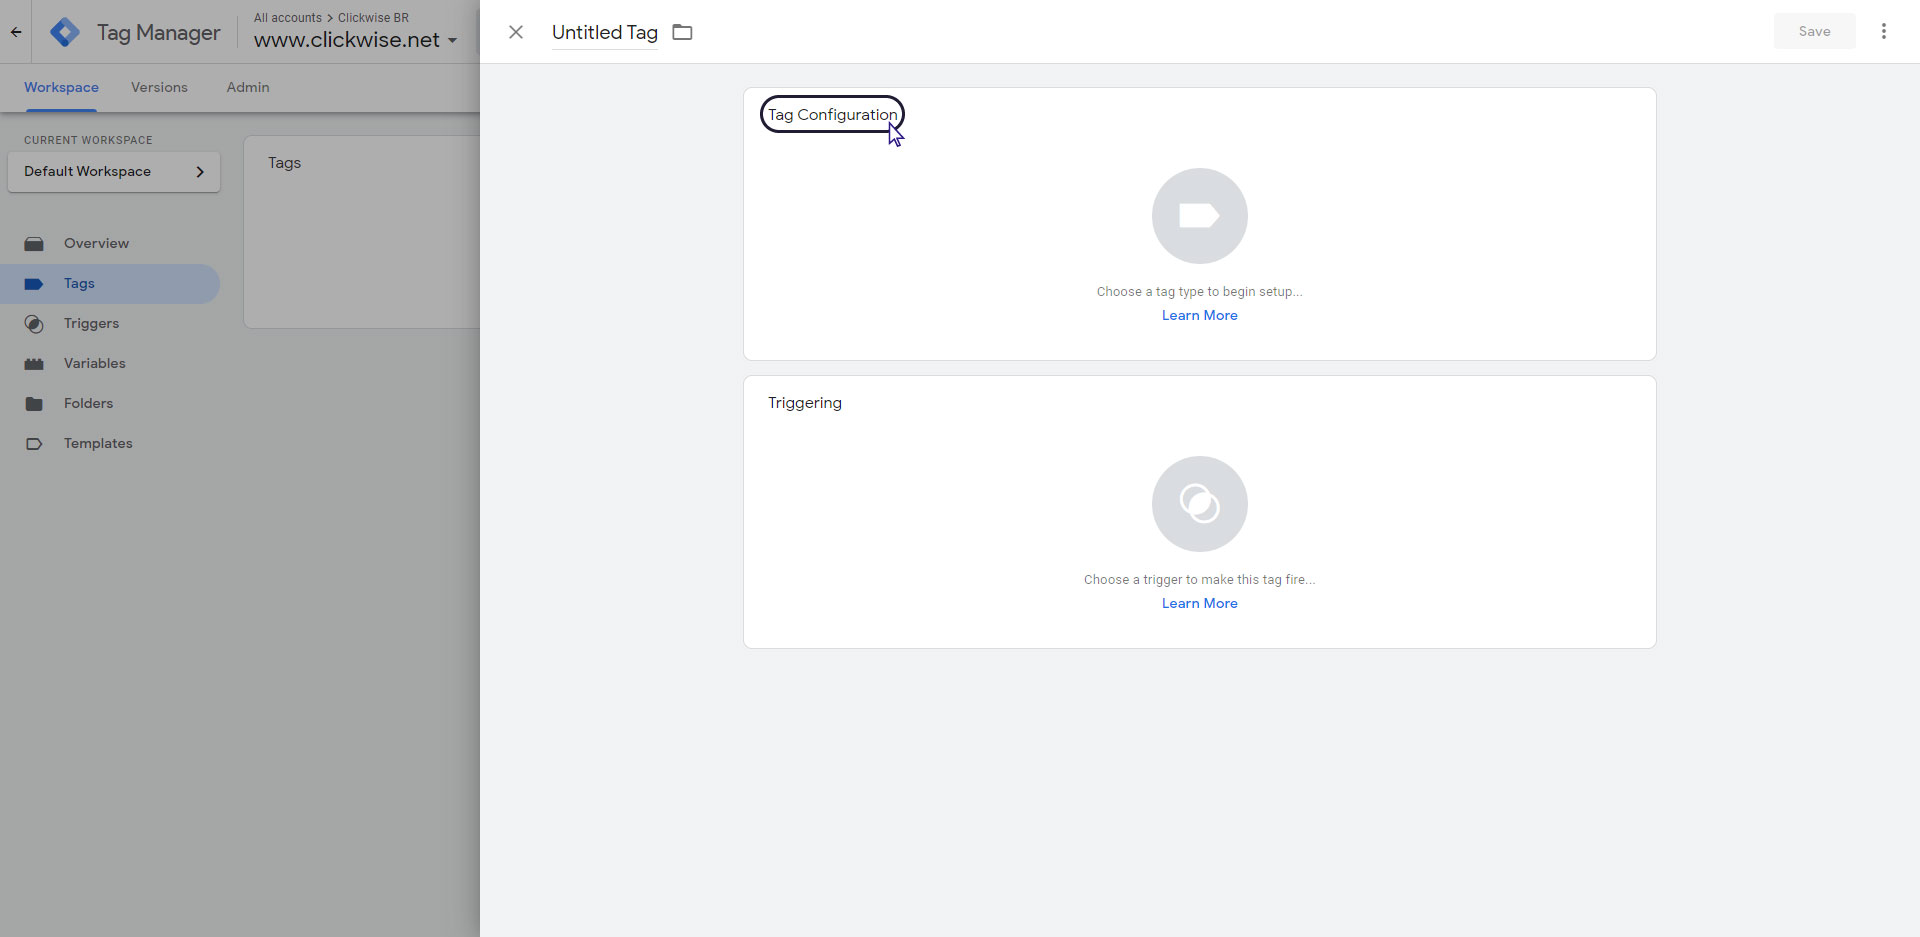
- Click 'Tag Configuration' box
- Choose Clickwise Pixel from the custom tags section
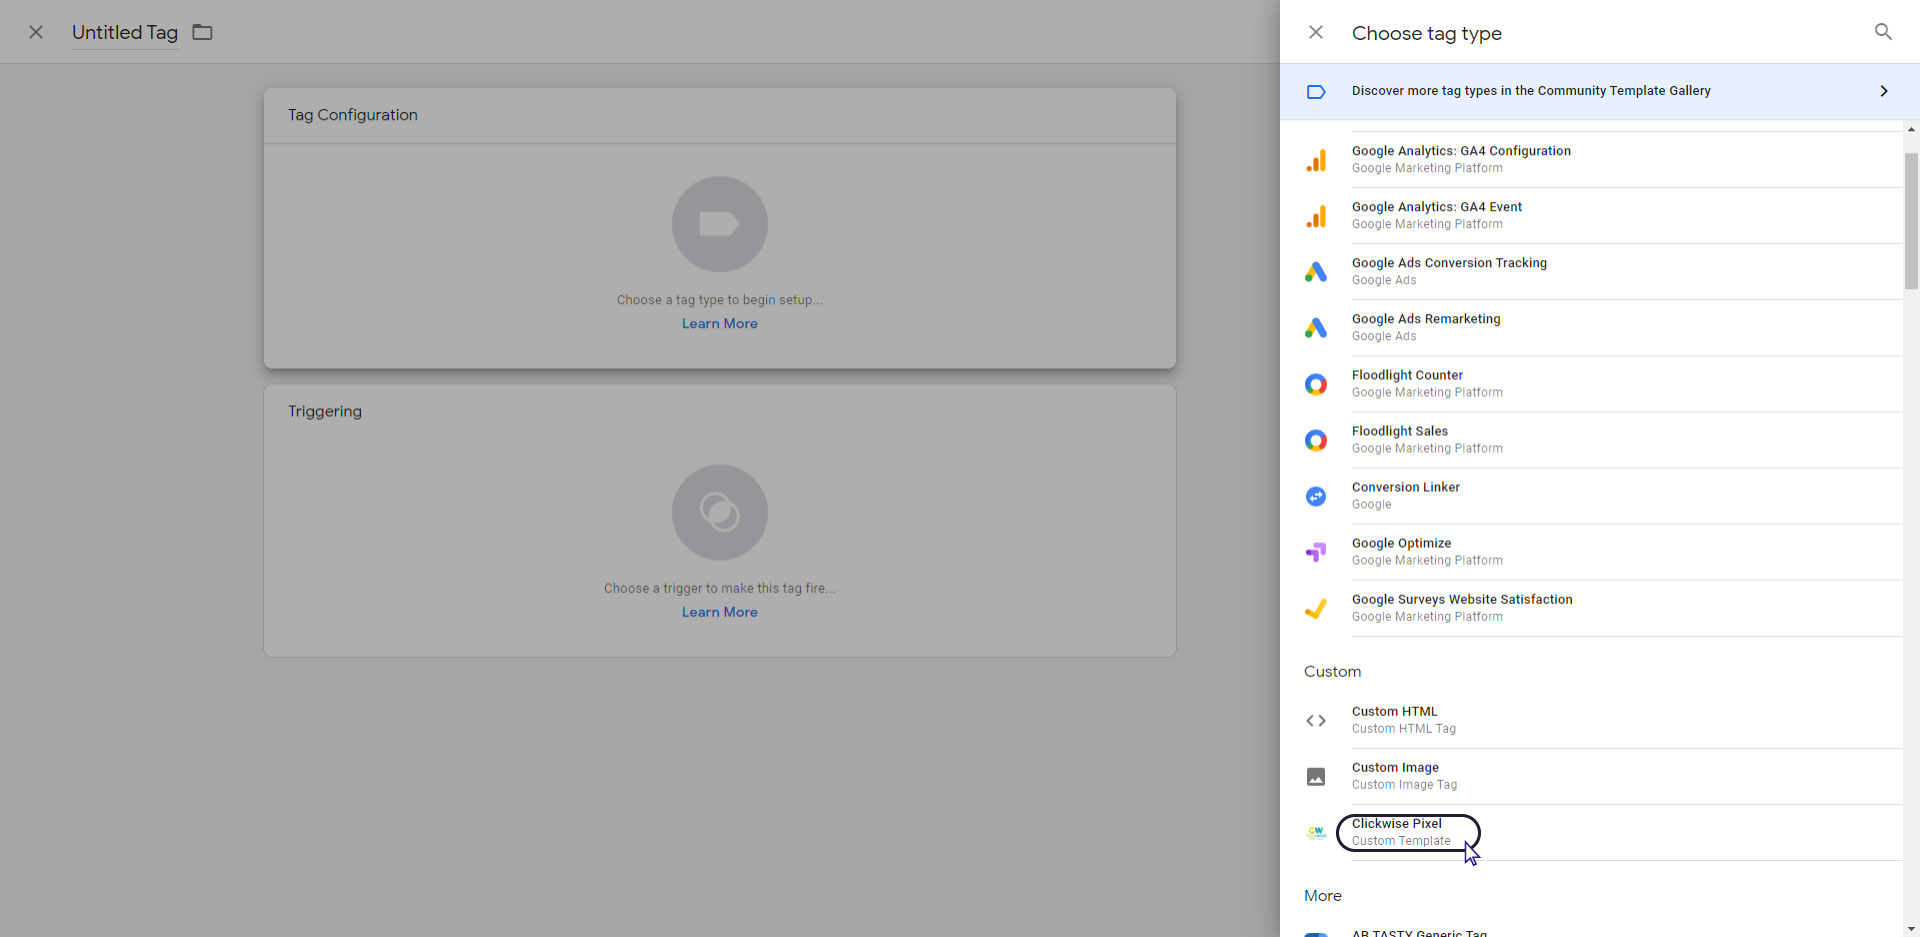
- Name the new tag, for example: 'Clickwise - Pixel'
- Add the values to the fields
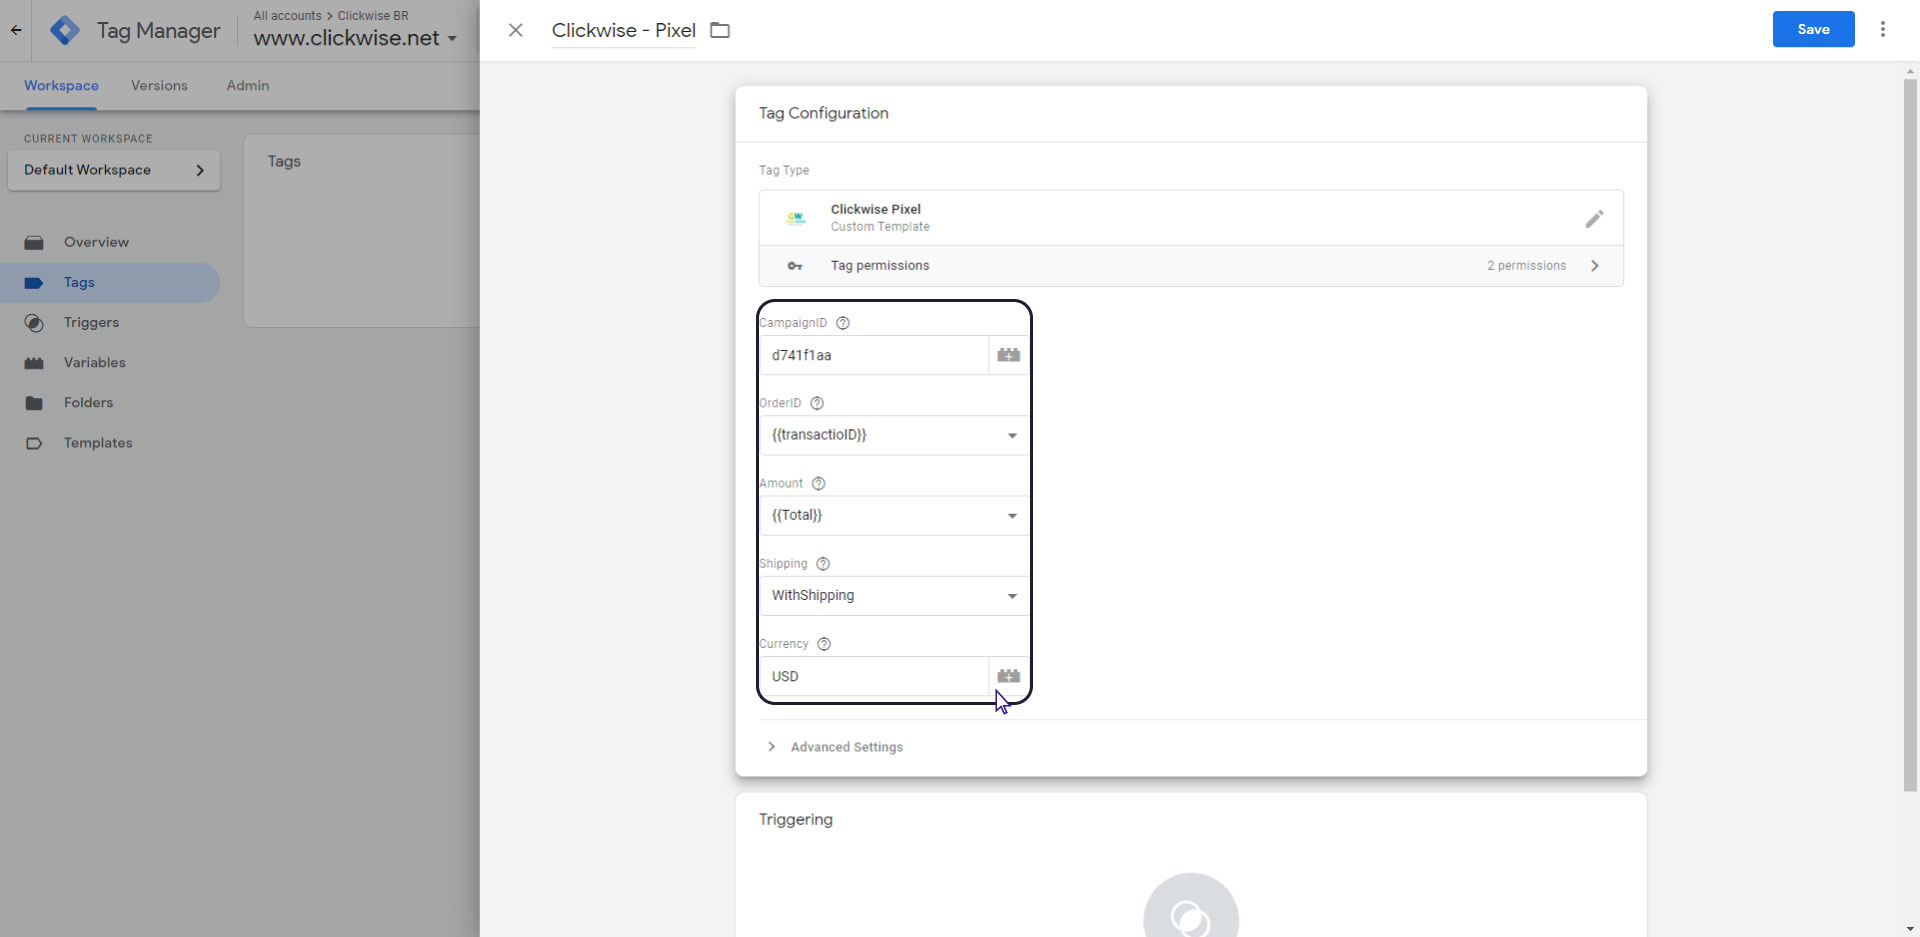
Field Type Description CampaingIDrequired String Unique campaign ID on the Clickwise platform OrderIDrequired String Order number of the transaction - transactionID Amountrequired Float Transaction amount - transactionTotal Shippingrequired Float Transaction shipping - transactionShipping
If Shipping is equal to "WithShipping", the pixel will receive the total amount of the orderCurrencyrequired String 3 char currency code